
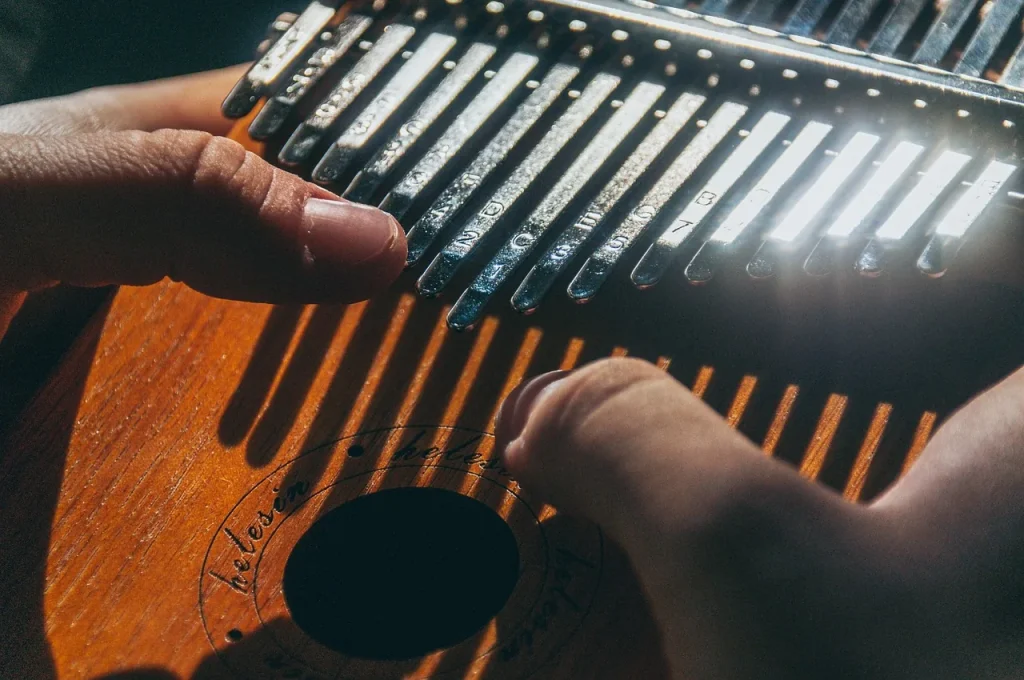
The kalimba is a compact African instrument, also known as a thumb piano. Its metal tines produce soft, clear music. It takes only a few minutes to play your first notes, even without musical training.
Available models generally have 7, 8, 17, or 21 tines. The 17-key format offers a good balance: it is easy to carry while providing a wide enough range of notes. It fits naturally into life at home, on a trip, or during a quiet moment.
The principle is simple. Your thumbs pluck tines fixed to a hollow body or a soundboard. This creates the rounded sound that characterizes the thumb piano. Learning then proceeds in short steps: finding the notes, tuning, reading tablature, and playing your first songs.
A transparent 17-tine model is available for around €54.90. This price gives people who want to learn without spending a large sum an initial point of reference. With a little regular practice, making music soon becomes an enjoyable, accessible activity.
17-Key Kalimba: A Complete Beginner’s Guide
Before playing, take time to examine the instrument’s structure. A kalimba has metal tines attached to a resonant body or a simple soundboard. Each vibration produces a clear note with a gentle tone.
How the thumb piano works
The notes alternate on either side of the center. This layout guides your thumbs naturally and makes moving between notes easier. Depending on the model, there are generally between 7 and 21 keys. One thumb plucks a tine while the other gets ready to play the next.
“Music begins with a simple gesture and attentive listening.”
Why learn to play the kalimba today?
Learning is accessible even if you cannot read music. A diatonic scale helps you create melodies that sound right from your first sessions. The instrument suits children and older adults alike.
Learning to play the kalimba also offers a moment of calm. Your thumbs gradually remember where the notes are. The instrument’s small size encourages creativity at home or while traveling. Discover how to play the kalimba with simple exercises, too.
Choosing the right kalimba to start with
The format you choose affects the sound, comfort, and ease of learning. Before buying, examine the material, the position of the keys, and how well the instrument stays in tune.
The differences between a hollow-body kalimba and a flat model
A hollow-body kalimba has a resonant chamber. It projects more sound and works well in a lively room. A flat model uses a simple soundboard. Its sound is softer, and it is light and practical outdoors.
In either case, check the finish of the tines, the legibility of the engraved notes, and how the instrument feels in your hands. Your fingers should reach every tine without strain. To learn to play the thumb piano, a stable model is a reassuring choice.
17 or 21 tines: which kalimba should you choose?
The 17-key format provides enough notes without placing the outer keys too far away. It is therefore well suited to beginners. A 21-key model adds lower notes and allows more expansive arrangements, but the tighter spacing requires greater precision.
- Choose 17 keys for easy access to the notes and a quick start.
- Choose 21 keys for a wider range and richer pieces.
| Format | Observed price | Main advantage | Recommended for |
|---|---|---|---|
| Make-your-own | €29.90 | Creative project | Craft enthusiast |
| Classic | €34.90 to €44.90 | Moderate cost | First introduction |
| 17 keys | €52.90 to €54.90 | Balanced sound | Beginner |
| Sun | €59.90 | Careful finish | Regular player |
Preparing and tuning your kalimba before playing
Accurate tuning makes every practice session more enjoyable. Before playing, settle in a quiet place and prepare a physical tuner or an app. Smart Kalimba, gStrings, and Free Universal Tuner let you identify notes quickly.
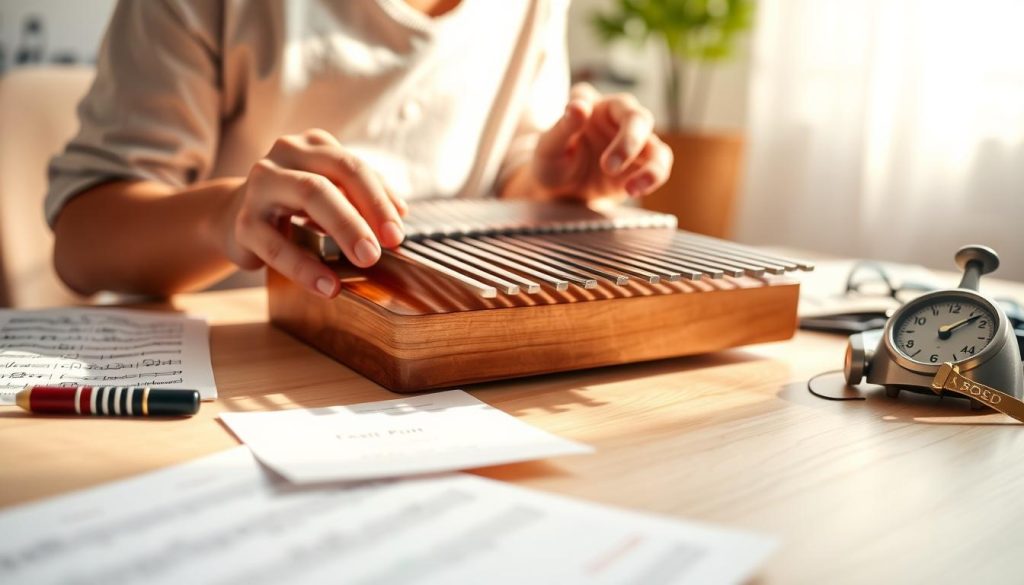
Essential tuning tools
The small hammer supplied with the kalimba is enough. Make sure you also have good lighting so you can read the keys. Stable tuning then makes a piece of tablature easier to read.
Start with the central C tine
Tuning begins in the center, with the C tine. The letters C, D, E, F, G, A, and B name the notes of the scale. Then check each tine, working from the center outward.
Adjusting a note with the hammer
If a note is too high, give the tine small taps downward. If it is too low, tap it upward. Check the tuning after each adjustment, as a slight movement is enough. Patience protects the tines and keeps the sound stable.
| Reading | Action | Direction | Check |
|---|---|---|---|
| Sharp | Tap the tine | Downward | Play the note again |
| Flat | Tap the tine | Upward | Check the tuner |
Holding the kalimba correctly with both hands
Point the kalimba toward you, with the tines facing you. Keep your back straight and relax your shoulders for a steady, comfortable hold.
Place your thumbs on top of the instrument. Keep them free to reach the notes without effort. Your other fingers support the back without gripping the body tightly.
Above all, avoid covering the two rear holes. These openings strengthen the resonance. Some Hugh Tracey models have two sound holes on the back: keep them clear.
- Align your wrists with your forearms.
- Move your elbows slightly apart.
- Keep your thumbs above the keys.
- Relax your fingers after each short sequence.
A relaxed position helps you maintain a clear, even sound.
For the first few minutes, you can also set the kalimba on a flat surface. This frees your hands and makes it easier to observe the instrument. Once the movement feels natural, pick it up again and check that you are comfortable.
Playing your first notes and chords
A few simple movements open the door to music. Hold your hands in a relaxed position, then let each sound ring. The kalimba becomes an expressive little piano that you get to know gradually.
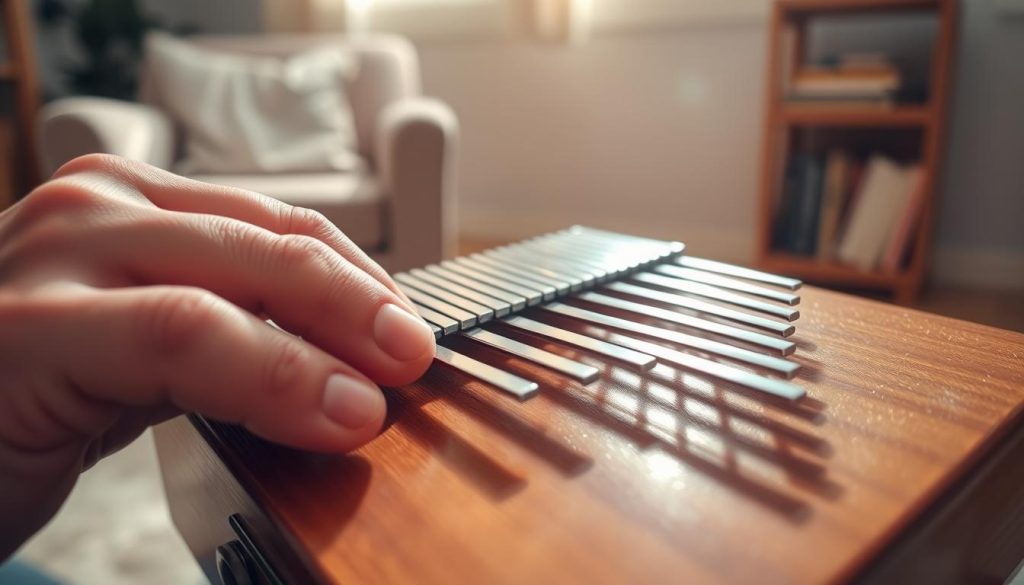
Using your thumbs and nails to pluck the tines
Pluck a single tine with your thumbnail. Wait for its vibration to fade before playing the next note. This approach sharpens your listening and makes learning more consistent.
Your nails may become sensitive during your first sessions. Silicone thumb guards offer temporary protection. Use a light touch to preserve the clarity of the sound.
Alternating notes from left to right
Start in the center with C. In standard tuning, the key on the left plays D, while the one on the right plays E. Then alternate notes on both sides with your thumbs.
- 5 minutes of slow notes;
- 10 minutes of tablature;
- 10 minutes of chords and songs.
Consistency matters more than speed.
| Movement | Action | Result |
|---|---|---|
| Single note | Pluck one tine | Clear sound |
| Alternation | Left, then right | Fluid progression |
| Chord | Two tines at once | Rich resonance |
Reading kalimba tablature easily
A visual grid turns a melody into simple steps. Before you begin, listen to the song on YouTube. This helps you identify the rhythm, accents, and pauses that the written page may not always show.
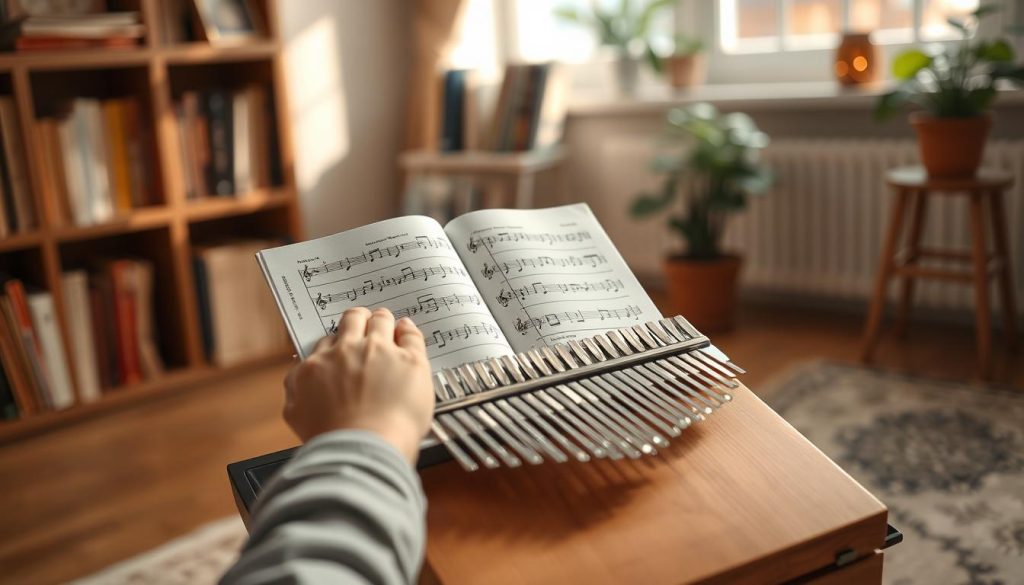
Finding tablature for a 17-tine kalimba
Search for “17-key kalimba tablature” on YouTube or a specialist website. Check the stated number of keys. An arrangement intended for 7, 8, or 21 keys may contain stretches that are difficult to play.
Also consult this guide to reading tablature to follow each symbol more easily.
Understanding the reading direction of notes and dots
The tablature represents the instrument’s tines. Generally, read it from the bottom upward, then from left to right. Each dot marks a tine to pluck with your thumbs. A short nail helps produce a clean attack.
Breaking a piece into short sections to repeat
Divide pieces into sections of 2 to 4 measures. Repeat each section 10 to 20 times at a slow speed. Then raise the tempo in steps of 5 BPM. This method strengthens memory and steadies your rhythm.
| Step | Action | Goal |
|---|---|---|
| Listening | Identify the rhythm and pauses | Understand the music |
| Reading | Follow the dots from bottom to top | Choose the keys |
| Repetition | Play each section 10 to 20 times | Play the piece smoothly |
Understanding sheet music and playing with both thumbs
Reading becomes clearer when you connect the staff to the markings engraved on the kalimba. Standard sheet music has five lines. A note’s position on the staff indicates its pitch, while a number beneath it often identifies the tine to pluck. This approach makes learning easier without requiring extensive study of music theory.
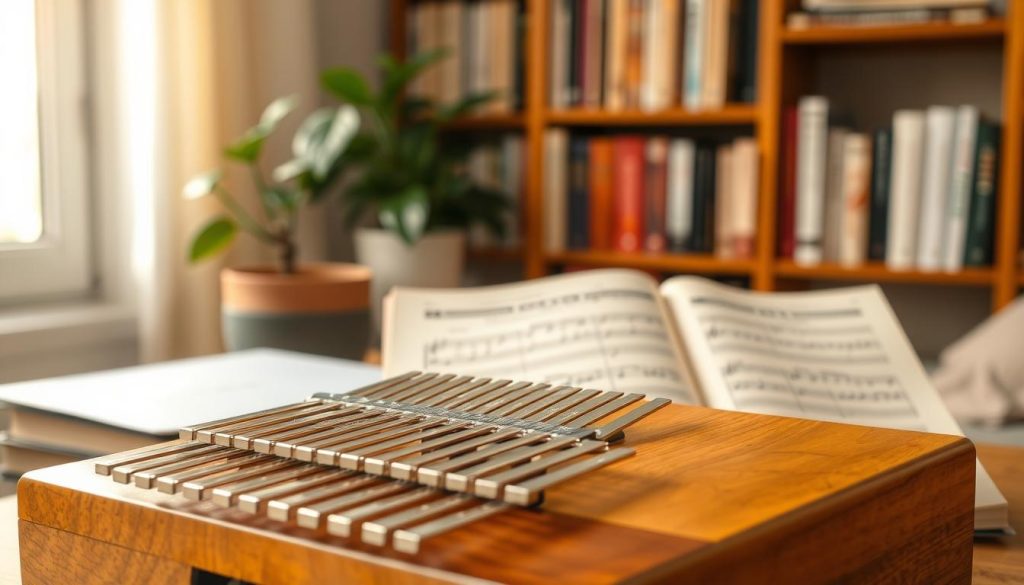
Connecting the staff to the instrument’s markings
Look at the second note, then find the same symbol on the tines. The corresponding key soon becomes familiar. Sheet music shows rhythm and pitch; tablature mainly shows what to play. Consult this guide to reading sheet music to learn to play the kalimba systematically.
Playing chords with relaxed coordination
Stacked notes form chords to play together. The left hand can mark the beats, followed by the right hand on the offbeats. When using both hands, start slowly and keep your thumbs relaxed. A series of connected notes can indicate a glissando played in one movement.
Every symbol becomes easier to understand when you listen as you play.
| Symbol | Meaning | Action |
|---|---|---|
| Number beneath a note | Tine marker | Pluck the indicated key |
| Stacked notes | Chords | Play with both thumbs |
| Connected notes | Glissando | Play in one continuous movement |
Choosing easy songs to make progress
Choosing a simple song makes practice more motivating. Start with “Happy Birthday”: its melody has about ten distinct pitches and helps you aim for each key accurately.
Continue with “Au clair de la lune”. Its calm phrasing improves consistency. “We Wish You a Merry Christmas” remains accessible on eight tines. Then “Petit Papa Noël” introduces chords and may require tuning to C major.
A short song, repeated with care, helps build confidence.
Finally, “You Are My Sunshine” lets you practice doubling notes. This helps balance the volume between your thumbs. Keep your wrists relaxed, your thumbs near the center, and your nails short.
- Break each piece into short phrases.
- Play slowly, then repeat each passage several times.
- Use an app, a metronome, or an audio track.
- Increase the tempo when your rhythm stays steady.
This progression helps you turn the thumb piano into a true musical instrument. Listen to every note and let time guide your playing.
| Song | Skill practiced | Tip |
|---|---|---|
| Happy Birthday | Note accuracy | Start very slowly |
| Au clair de la lune | Even phrasing | Observe the rests |
| Petit Papa Noël | Chords | Check the tuning |
| You Are My Sunshine | Balanced sound | Compare each hand |
Exploring techniques to enrich your playing
Once the basic movements feel natural, a few expressive techniques add more depth to the music. They require little equipment but call for attentive listening and relaxed movements.
Playing a glissando across the tines
A glissando resembles a harpist’s movement. Slide your nail across several tines without stopping. Moving upward or outward is often easier than moving inward. Start with three notes, then extend the sequence.
Creating vibrato and wah-wah effects with the sound holes
Some Hugh Tracey models have two holes on the back. Cover and quickly uncover them while your thumbs pluck the tines. This alternation produces a slight vibrato. It also changes the tone of each note.
Use the front hole to practice the wah-wah effect. It works mainly on three or four central notes. Repeat the movement for a few seconds to control the rhythm and thumb pressure while protecting your nails. Slow practice helps you play the kalimba with greater finesse, at home or outdoors.
- Try each effect several times at a moderate volume.
- Keep the tuning stable with a tuner or an app.
| Technique | Movement | Effect | Tip |
|---|---|---|---|
| Glissando | Brush several tines | Fluid transition | Move upward |
| Vibrato | Cover the rear holes | Wavering note | Use your thumbs |
| Wah-wah | Vary the opening of the front hole | Changing tone | Aim for the central notes |
Conclusion
Your musical journey develops in small steps, with calm and curiosity. A 17-key model, tuning checked every week, and a relaxed posture provide a reliable foundation.
Your first notes begin with a light touch of the thumb. Alternating between the two sides helps maintain a steady rhythm, while listening reveals the instrument’s resonance. To learn to play, progress without rushing.
Tablature makes your first pieces easier to learn. Sheet music then develops your ability to read rhythm, pitch, and chords. “Happy Birthday” and “Au clair de la lune” offer an accessible repertoire.
With regular practice, the notes become familiar and your thumbs grow more accurate. Playing the kalimba then offers a gentle, creative, and relaxing musical break.