
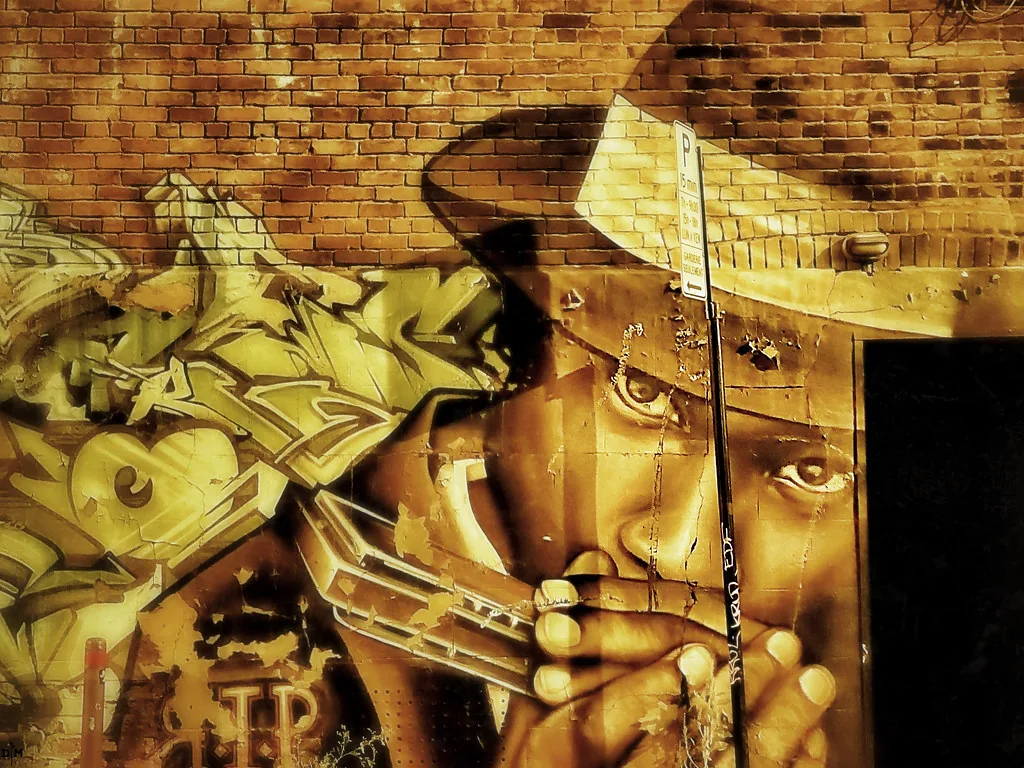
Moving from intuitive playing to controlled playing begins with understanding positions on a diatonic instrument.
This short guide explains what the term means, how first and second positions differ, and why the latter opens the door to blues, rock, pop and country.
On a C diatonic harmonica, second position is played in G, with a Mixolydian sound and strong emphasis on draw notes.
The article compares straight harp and cross harp, maps useful notes, introduces scales and chords, then offers techniques for breathing, placing accents and playing in tune.
Each section includes practical exercises. For more technical detail and a key chart, see this guide to keys and positions.
Guide to keys and positions for harmonica
Why learn cross harp now?
Starting in second position is a practical way to sound bluesy and rocky from your first exercises. On a C diatonic harmonica, this approach naturally puts draw notes at the heart of your phrasing, making expressive effects and the characteristic gritty tone easier to achieve.
Immediate benefits: draw notes lend themselves to attacks, tongue strikes and accessible bends. Moving back and forth between draw holes 4 and 5 can suggest the unavailable V chord and create useful harmonic responses when playing with a group.
For beginners, this position speeds up progress. Phrases sound more natural and soon fit a range of styles: slow blues, energetic rock or modern country.
| Criterion | Benefit | Recommended level |
|---|---|---|
| Draw notes | Expressive effects and gritty tone | Beginner → intermediate |
| Playing with a group | Immediate harmonic responses | Intermediate |
| Breathing technique | Prevents bad habits | Beginner |
- Work on this position early to give your technique structure.
- Effects fit better when your points of emphasis are clearly defined.
- Many players have built their sound around this approach.
Straight harp and cross harp: definitions and uses
The difference lies in where the tonic falls and how you breathe. In first position, the tonic is a blow note. This is the natural choice for clear, singing melodies. On a C diatonic harmonica, the C major scale is available without bends, making it ideal for folk and country.
First position: blow-note foundation, folk and country
First position makes melodic themes easier to play. Most of the useful notes are blow notes, keeping the approach simple and direct. It is especially useful for vocal-style lines and clean accompaniment.
Second position: draw-note foundation, blues, rock and country
Second position relies on drawing air to produce grit and strong attacks. On a C diatonic harmonica, you play in G using the Mixolydian scale. Here, the I chord is played by drawing and the IV chord by blowing. The V chord is often suggested by moving back and forth between draw holes 4 and 5.
“Choosing the right position means matching your breath and phrasing to the song’s harmony.”
- Straight harp: clear melodies and readily available natural notes.
- Cross harp: forceful phrasing, bends and pronounced attacks.
- Adapt your breathing to the emphasized notes to suit the style.

| Feature | First position | Second position |
|---|---|---|
| Tonic | Blow (C major) | Draw (G Mixolydian) |
| Use | Folk, country | Blues, rock, funk |
| Chords | I on the blow, IV on the draw | I on the draw, IV on the blow, V suggested by holes 4 and 5 |
Mapping positions on a C diatonic harmonica
Finding the tonic notes on a C diatonic harmonica helps you orient your phrasing and choose where to place emphasis. This mental map helps you know where to blow or draw for each tonal center.
Tonic landmarks: where to blow or draw in each position
First position: the tonic is the blow note in hole 1.
Second position: the tonic is the draw note in hole 2.
Third position: the tonic is the draw note in hole 1.
Positions 1 to 5 in practice on a C harmonica
Explore each tonal center by finding the target note, then building simple patterns around it. Markings on the ends of Lee Oskar models make positions easier to identify onstage.
Notes by hole: finding your way with blow and draw notes
Standard diagrams show blow notes above and draw notes below. Reading this chart helps you anticipate note sequences and find the basic chords.
“Play each hole slowly, first blowing and then drawing, and name each note’s function: tonic, third, fifth.”
| Position | Tonic (hole) | Accessible area |
|---|---|---|
| 1 | Hole 1 blow | Clear melodies, major scale |
| 2 | Hole 2 draw | Expressive phrases, bends |
| 3 | Hole 1 draw | Minor colors, variations |
| 4 | Hole 2 blow | Alternating I and IV |
| 5 | Hole 3 draw | Upper register, high melodies |
- Place your accents around the tonic you have found to maintain the pulse.
- Understanding the arrangement of blow and draw notes makes the chords easier to access.
- Exercise: play each hole slowly, name its function and repeat five times.
For more technical detail and diagrams, see this guide to harmonica technique.
Harmonica positions: understanding cross harp
Establishing the scale of G Mixolydian on a C diatonic harmonica begins with finding the anchor notes and preparing the bend on hole 3 draw.
Establish the scale: focus on the middle holes for its main notes. The second scale degree requires a full-step bend on hole 3 draw to sound in tune.

I, IV and V chords and effective substitutions
In second position, play the I chord by drawing and the IV chord by blowing. The V chord is not directly available: substitute a quick back-and-forth movement between draw holes 4 and 5.
Starting rhythms: slow blues in G and offbeats
For a simple slow blues, play the chords on the offbeats. Here is an example:
- Two bars on the draw I chord.
- One bar on the blow IV chord.
- Return to the I chord, then substitute the V chord with a back-and-forth movement between draw holes 4 and 5 before resolving.
Matching your attacks to percussive syllables helps you keep the groove. Start by holding the chords, then add the offbeat and, finally, melodic responses between the accents.
Practical tip: Lee Oskar markings make it easier to identify second position and change quickly onstage.
Essential techniques: bends, breathing and articulation
Precise tongue movements and controlled breath make all the difference when producing clean bends.
Accurate bends on draw holes 2 and 3
To produce a bend, reduce the airflow and steady your tongue. Raise the back of your tongue toward the soft palate while lowering the tip.
If hole 2 draw seems blocked, lift the front of your tongue slightly and “breathe” rather than pulling hard. This technique helps you reach the target note without forcing it.
“Train” breathing for steady airflow
Train breathing alternates short, controlled cycles: draw holes 2, 3 and 4; blow holes 1, 2 and 3; draw holes 1, 2 and 3; then blow holes 1, 2 and 3.
Start with DA‑DA‑DA accents, then divide each breath into DA‑da‑DA‑da. Gradually speed up to engage your abdominal muscles.
Percussive articulation for clearer playing
The /te/, /de/ and /le/ attacks shape each note and make it clearer, even during a bend.
First practice an isolated bend, then alternate a bent note and a natural note in the same hole. Finally, move between bent notes in two different holes.
Avoiding breathlessness: diaphragm and airflow management
Contract your abdominal muscles as you blow. As you inhale, let your belly move forward to maintain steady diaphragmatic support.
Keep your movements economical: less air, more control. This prevents the note from “floating” and helps it sit cleanly in the groove.
“Check your bends with a chromatic tuner to reinforce tongue placement and accurate pitch.”

| Problem | Action | Expected result |
|---|---|---|
| “Blocked” hole 2 draw | Lift the front of the tongue and breathe gently | More stable bend with less effort |
| Loss of stamina | Train breathing and active abdominal muscles | Steady airflow through long phrases |
| Unclear attacks | /te/, /de/ and /le/ articulation | Clear note shapes and better definition |
- Suggested routine: isolated bends → alternating bent and natural notes → moving between bent notes.
- Check your pitch with a tuner and repeat slowly.
- To improve, keep your movements economical for a precise, musical sound.
Extending your range: high notes, overblows and overdraws
Moving into the upper register calls for a clear method if you want to keep a blues feel without losing pitch accuracy.

Quick roadmap: start with the major pentatonic scale from hole 6 blow to hole 9 blow. This bend-free progression keeps the tone warm and firm.
Then bring back the blues character between holes 9 and 10, using the “wail” of the double-bent hole 10 as an expressive high point. Next, introduce overblows on hole 6 and overdraws on hole 7 to complete the upper scale.
Pitch checkpoints: move your tongue slightly forward on an overblow if the note sounds too low. On an overdraw, watch the pitch and avoid placing your tongue too high, which can produce multiple overdraws.
Work slowly on tone: first aim for stability, then slide between an overblow and its variations to add color. Link short patterns from holes 6 to 8, then from holes 8 to 10, alternating natural notes, bends and overnotes.
Posture and touch: align your jaw and open your throat. Make tiny tongue adjustments to sound the notes cleanly and without tension.
For an overview of the instrument and its keys, see this guide to keys.
Choosing your harmonica and tuning
The model and tuning you choose directly affect your sound and comfort. A standard major diatonic lets you explore both straight harp and cross harp on one instrument.
Onstage: markings on the ends of Lee Oskar models quickly indicate first and second position. They prevent hesitation between songs and speed up key changes.
Major diatonic harmonica and chord guide
A chord guide helps you visualize the blow-and-draw patterns used to accompany the I, IV and V chords. Study these sequences to keep time and stay with the music.
When to consider an alternative tuning
Consider a Melody Maker™ if you often play highly melodic pop or folk lines. This tuning makes major-key phrases flow more easily and reduces the need for complex bends.
- Standard tuning: versatile for most styles.
- Melody Maker™: saves time when playing bright melodies.
- First understand positions and anchor notes, then choose a tuning.
For practical accompaniment advice, see this article on how to accompany a guitar.
Styles, effects and playing examples
Each style has its own conventions: some favor tension, others melodic clarity. This section shows how to adapt effects and rhythmic placement to the song.
Blues, rock and country: tips and patterns
Blues (G in second position): play chords on the offbeats and move between draw holes 4 and 5 to suggest the V chord. Two draw attacks on the offbeat, followed by a relaxed blow note, create a simple, effective swing.
Rock: strengthen attacks with a tight alternation between draw and blow notes, emphasizing the structurally important notes. This tension makes the playing more muscular and percussive.
Country and folk (first position): favor blow notes for clear, singing lines. Broad vibrato and open phrasing bring out the melody.
Mini-study: end a phrase with the “wail” of the double-bent hole 10 to mark the cadence with a striking blues flourish.
“Players adjust the intensity: more tense for rock, more subdued for country, always in service of the groove.”
- Essential effects: accented draw notes, quick movement between holes 4 and 5, syncopated phrasing.
- Practical example: two offbeat draw notes → relaxed blow note → repeat the pattern.
- Key rule: choose the position and effects that suit the style, and prioritize rhythmic placement to keep your playing clear.
Common mistakes and quick fixes
Common mistakes often come down to a small adjustment of the tongue or breath.
For about one person in three, hole 2 draw may bend naturally on a C harmonica. To fix this, lift the tip of your tongue forward toward the upper palate and breathe instead of drawing forcefully. Adjust your tongue position slightly and reduce the airflow to recover a clean note.
To prevent high notes from squealing, first practice on a lower-pitched instrument in G or A, then transfer the movement to the upper register.
- Fix an unstable hole 2 draw: adjust your tongue slightly and reduce the airflow.
- Stabilize bends: use a chromatic tuner to memorize the tongue position for each hole.
- Avoid breathlessness: rely on diaphragmatic support for long phrases in second position.
- Clarify attacks: pronounce /te/, /de/ and /le/ to mark the start of each note.
- Quick practice routine: five minutes on hole 2 draw to get a clean note, five minutes of bends on hole 3 draw and five minutes of train breathing.
Posture: a raised jaw or closed throat may be the cause. Relax and align your posture to free the sound.
Conclusion
Conclusion
Gradual learning quickly connects technique, anchor notes and tuning choices to build solid phrases. Understanding each position helps you match your breath, accents and chords to the sound you want.
Choose straight harp for clear melodies or the more biting second position for blues: cross harp provides an ideal framework for slow blues in G, with the I chord drawn, the IV chord blown and the V chord suggested by moving between draw holes 4 and 5.
Favor a relaxed technique: tongue control, airflow management and articulation keep your sound steady and in tune.
Consider the Melody Maker™ for quick, flowing major-key lines without too many bends. Then progress to overblows to extend your range and enrich your tone.
Short roadmap: strengthen the I and IV chords in second position, practice the V-chord substitution, work on the Mixolydian scale and refine your articulation. This will give you a lasting, transferable musical vocabulary.