
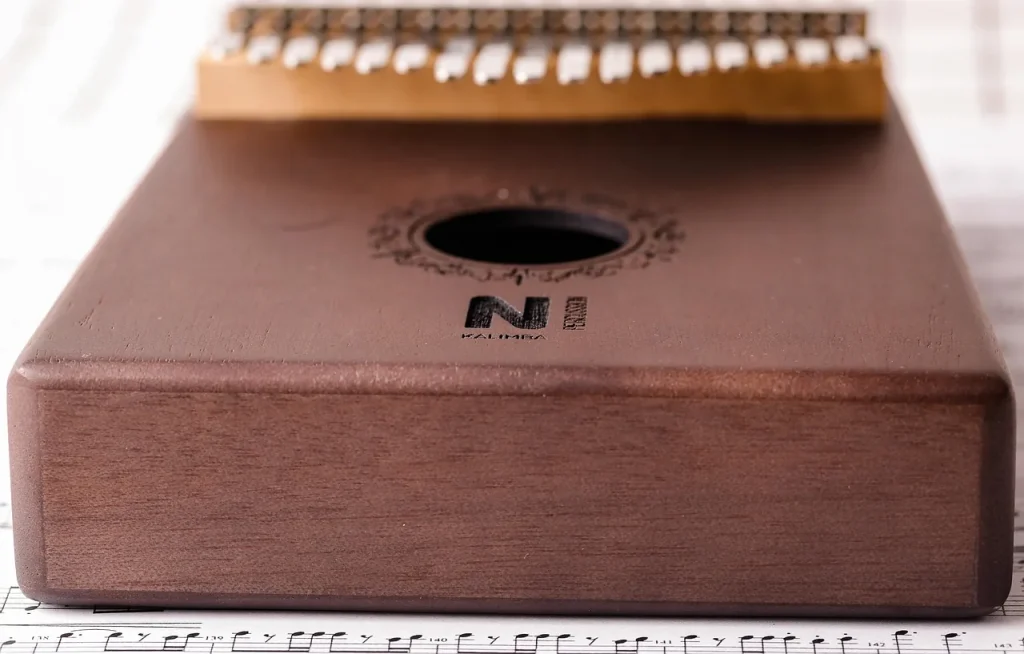
The kalimba, also called a thumb piano, appeals to players with its small size, gentle tone, and ease of use. In C major, this instrument is suitable for beginners who want to explore music without knowing how to read it.
Each movement of the thumb makes a tine vibrate. The body then amplifies the sound. Just a few movements are enough to recognize a melody, even on your first try.
This method moves through short steps: understand the instrument, check its tuning, identify the notes, read tablature, work on tempo, and then play a melody. A tuner, numbers, letters, PDF sheet music, or a video can make each exercise clearer.
“You Are My Sunshine,” popularized by Jimmie Davis in 1939, provides a thread to follow. It lets you approach easy melodies through concrete steps, without pressure.
Today’s goal: practice for a few minutes, follow a musical phrase, and notice real progress. Light and compact, this model fits in a bag so you can keep playing at home or while traveling.
7-Tine Kalimba: How It Works, Notes, and First Songs
Before playing, it helps to understand where the sound comes from. This instrument belongs to the lamellophone family. A metal tine fixed to a plate or body vibrates when the thumb applies light pressure.
The role of the metal tines and sound box
The wooden body amplifies the vibration. Its density affects the response of lower notes and the warmth of the tone. Mahogany, for example, produces a rounded sound. A long tine produces a lower note. A short tine produces a higher one.
A gentle touch is enough to produce a clear note. Beginners can therefore play without pressing hard with their thumbs. To assess a sound box, look at its weight, finish, and the quality of its fittings.
The African origins of the thumb piano
The modern instrument draws inspiration from the mbira, which originated in southern Africa. Its ancestor accompanies songs, stories, and rituals. This history gives the thumb piano considerable cultural significance.
| Part | Role | Audible effect |
|---|---|---|
| Long tine | Slow vibration | Low note |
| Short tine | Fast vibration | High note |
| Wooden body | Amplification | Warm tone |
Why choose this instrument when starting music
Exploring music is easier with a lightweight instrument that feels gentle to the touch and is easy to put away. This instrument offers a calming experience, without complicated setup or extensive theory.

A compact size that is easy to handle
Seven tines limit the number of choices during practice. Beginners can therefore memorize short patterns with less hesitation. This approach suits adults, teenagers, and children playing with an adult.
The wooden body fits in a bag. You can take it on a trip, to a break, or to a workshop. Without amplification, you can play this thumb piano sitting or standing. Its quiet sound encourages regular practice.
A smartphone is enough to get started: use a tuner to check each pitch and a metronome to keep a steady rhythm. Models with eight, nine, eleven, seventeen, or twenty-one tines are also available. A model with more tines becomes useful when a melody calls for a wider range.
- Quick setup at home
- Easy to carry in a small bag
- Approachable for beginners
| Need | Suggested choice | Benefit |
|---|---|---|
| Getting started | Small model | Less confusion |
| Traveling | Lightweight model | Easy to carry |
| Expanding your repertoire | Model with more tines | Wider range |
Identify the notes and understand the tine layout
To find each sound quickly, start by locating the center tine. On a common layout, low C sits there. The scale contains C, D, E, F, G, A, and B, or Do, Re, Mi, Fa, Sol, La, and Ti. The numbers 1 to 7 give each scale degree a simple reference.
The C major scale and visual markers
Color coding helps you remember the pitches. Removable stickers can also mark each tine. On a standard seventeen-tine model, low C is often in the center. Check the diagram for your own instrument, though, because the layout varies with the scale.
- Do or C: number 1
- Sol or G: number 5
- Ti or B: number 7
Alternating between the left and right thumbs
From the center, the tines alternate to the left and then to the right. This layout guides your hands before each note. The left thumb plays on one side, and the right thumb responds on the other. Thinking “left-right” makes the notation easier to follow.
Tip: try a short melody using numbers, then consult this guide to the notes.
Tune your kalimba with a tuner
Good tuning makes every melody sound more accurate. The process is straightforward if you take your time. Small adjustments protect the instrument while giving you a reliable result.
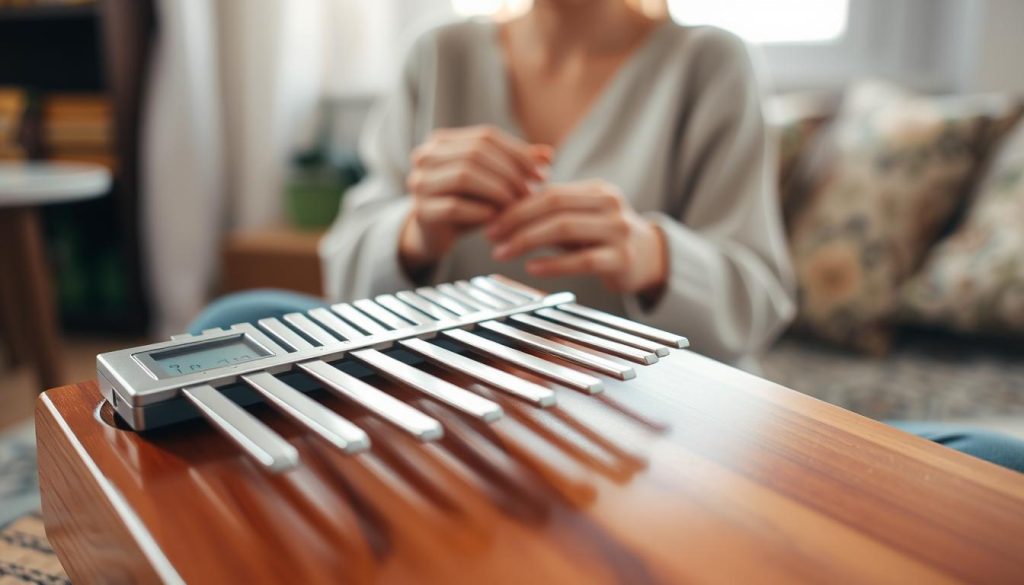
Check each note with a smartphone
Install Smart Kalimba, gStrings, Pano Tuner, or DaTuner. Put your phone in a quiet room. In C major, the reference notes are C, D, E, F, G, A, and B.
- Play each tine on its own.
- Look at the note displayed by the tuner.
- Compare the pitch before making any adjustment.
Repeat these steps for every note. A complete tuning guide can help you the first time.
Adjust the tines without damaging them
To lower the pitch, gently tap the tine upward. To raise it, tap downward. Never bend the tines. Check the tuner after each adjustment, then play through all the notes again.
Check them again after transporting the instrument or a change in temperature. To broaden your knowledge, also consult this guide to choosing a harmonica.
Read kalimba tablature without knowing music theory
Tablature turns a melody into simple instructions. It shows which tine to play and in what order, without requiring you to read standard notation. This visual approach suits beginners.

Numbers, letters, and rhythm symbols
The numbers 1, 2, and 3 often correspond to Do, Re, and Mi. The letters C, D, and E identify the same notes. Colors make them easier to memorize. Spaces mark a pause, while a vertical line separates measures.
- Numbers: note pitches
- Indicated tine: movement to prepare
- Grouped symbols: notes played together
Follow the note order and identify phrases
Read a numbered score from left to right. Isolate two measures, then say the numbers aloud. Noé Alicard recommends this method in his tutorial dated April 17, 2021. It makes each phrase clearer before you play.
Play slowly, without trying to build speed. Once reading feels natural, increase the tempo. For more practice, consult this guide to kalimba sheet music as you approach a melody.
| Marking | Meaning | Action |
|---|---|---|
| 1-2-3 | Musical notes | Play the corresponding tines |
| | | Measure separator | Mark a short pause |
| Stacked symbols | Chord | Play several notes together |
Position your hands and thumbs comfortably
Before playing, settle into a stable posture. Sit with your back straight and your shoulders relaxed. Hold the instrument with both hands without squeezing the body. Too much pressure muffles the vibrations, while a light grip encourages a natural sound.
Place your fingers behind the body to support it. Keep your hands relaxed and your wrists in line with your forearms. Position your thumbs just above the ends of the metal tines, ready to slide downward.
Check the sound holes too. They should remain uncovered so they can reinforce the resonance. Avoid resting your palms over them. This simple check also helps prevent accidental strikes.
- Relaxed shoulders and calm breathing
- Flexible wrists without a sharp bend
- Left-right alternation without sudden movements
To begin, play two central tines for thirty seconds. Keep your movements slow and even without trying to produce a loud sound. This short routine helps you find a relaxed position before playing a complete melody.
Produce a clear sound and control resonance
The quality of your playing depends mainly on your touch. Light contact lets the instrument vibrate freely. A gentle touch produces a clearer tone that is pleasant each time you play.

Brush each tine without forcing it
Place the tip of your thumb near the metal edge. A short, precise movement is enough to make the tine vibrate. Keep a moderate angle to avoid metallic noises. The body can then produce a warm resonance.
Control how long notes sound
A sustained note should vibrate naturally. Do not put your finger back on the tine immediately after playing it. To create staccato, quickly stop the vibration with your thumb. A well-placed silence separates musical phrases and makes the melody easier to follow.
Alternate thumbs smoothly
Start with two central tines for thirty seconds. Alternate your thumbs without speeding up. Then move to three tines, followed by four. This routine steadies your tempo, reduces tension, and improves note clarity.
Build a steady tempo through regular practice
A steady rhythm brings each melody to life. To improve without tension, follow a short routine and repeat it each day. A seven-minute session is enough to notice real progress.
Break a melody into short phrases
Divide the song into short phrases of two to five notes. Work on each one, then join the phrases you can already play. Start with three notes at 60 beats per minute. Play slowly without sacrificing accuracy.
Follow these steps: one minute with the tuner, two minutes on the pattern, three minutes on the melody, and then one complete take. Keep the left-right alternation relaxed. You can tap your foot to the beat.
Use a metronome and record yourself to improve
A visual metronome helps you keep the tempo through transitions. Increase it in small steps only after several even repetitions. A twenty-second recording can reveal where you speed up, slow down, or hesitate.
This practice makes your playing more confident. It also prepares you for future melodies without turning songs into tedious exercises.
| Time | Action | Goal |
|---|---|---|
| 1 minute | Tuning and posture | Prepare to play |
| 2 minutes | Three notes at 60 BPM | Establish the tempo |
| 3 minutes | Melody in phrases | Smooth the transitions |
| 1 minute | Short recording | Check the result |
Play your first songs on a seven-tine kalimba
Start your repertoire with a familiar melody that is short and easy to remember. For your first song, “You Are My Sunshine”, popularized by Jimmie Davis in 1939, is an excellent starting point. Its repeated structure makes it easier to follow without reading standard notation.
Learn You Are My Sunshine step by step
After tuning to E-G-A-C-D-E-G, play these groups: 3-2-1-2-3-3-3, then 2-2-2-3-5-5. Continue with 3-2-1-2-3-3-3, then 2-2-3-2-1. Practice each phrase separately with your thumbs at a slow tempo.
Once each tine produces a clear sound, join the phrases in the same order. This method steadies your movements, hand position, and the length of each note. You can also find this sheet music for You Are My Sunshine.
Explore Au Clair de la Lune and Frère Jacques
For variety, try “Au Clair de la Lune,” “Frère Jacques,” “Twinkle, Twinkle, Little Star,” or “Happy Birthday.” These repetitive melodies suit a small instrument. Simplify any passage that calls for a pitch your kalimba does not have.
“Play slowly: consistency matters more than speed.”
Conclusion
You now have a clear way to explore music with this instrument: hold the body, check the tuning, touch the tines gently, read the numbered notes, and then connect each phrase. This method suits beginners.
Five to ten minutes of regular practice are better than an occasional long session. A light touch preserves the wood’s resonance. A metronome helps steady the tempo. After a familiar song, explore other melodies, PDF sheet music, video tutorials, or a tuning app.
A short recording lets you hear your progress. To learn more, consult this guide to learning music and piano notes. Your instrument can become part of a simple, calm, lasting practice, one note at a time.