

Taking care of your instrument extends its life and keeps it in tune from your first days of playing. This practical guide takes you from diagnosis to replacing a reed, with simple tips you can use at home.
Before playing, warm the instrument in your hands or with a few gentle breaths so the reeds can reach a stable temperature. Diatonic models in C are recommended for beginners; a new instrument needs a gentle break-in period.
We explain the difference between preventive care and corrective repair. You will also learn why screwed-on covers make some repairs easier, while classic models call for more care.
The article covers identifying the parts, gathering tools, cleaning, making adjustments step by step, and replacing a reed if necessary. For firsthand experiences and technical details, see this discussion thread.
Why maintain your harmonica from the start
A gentle care routine helps the instrument stay stable and responsive. From the beginning, a simple adjustment can prevent problems that would take more time and money to fix later.
Manufacturers recommend holding the instrument in your hand or keeping it in a clean pocket for a few minutes before playing. Warming it helps the metal reeds stabilize.
Risks of blowing or drawing too hard: forcing the airflow can quickly damage the reeds. An abrupt playing technique causes notes to drift out of tune and reeds to wear prematurely.
- Before playing: warm the instrument in your hand, then play single notes with little pressure.
- Self-checks: repeat a few notes to adjust your breath and identify holes that respond poorly.
- Moisture and residual water: avoid sudden temperature changes and dry the instrument to help preserve the reeds.
By starting notes gently and supporting your breath with a steady airflow, you get a better response with less effort. This effect extends the life of even sturdy harmonicas.
Identify the parts and prepare basic tools
Knowing the parts makes any repair easier. Locate the comb, reed plates, reeds, valves, and covers before taking anything apart.
Locate the mouthpiece, button, and slide on chromatic models as well, so you can better understand the airflow.
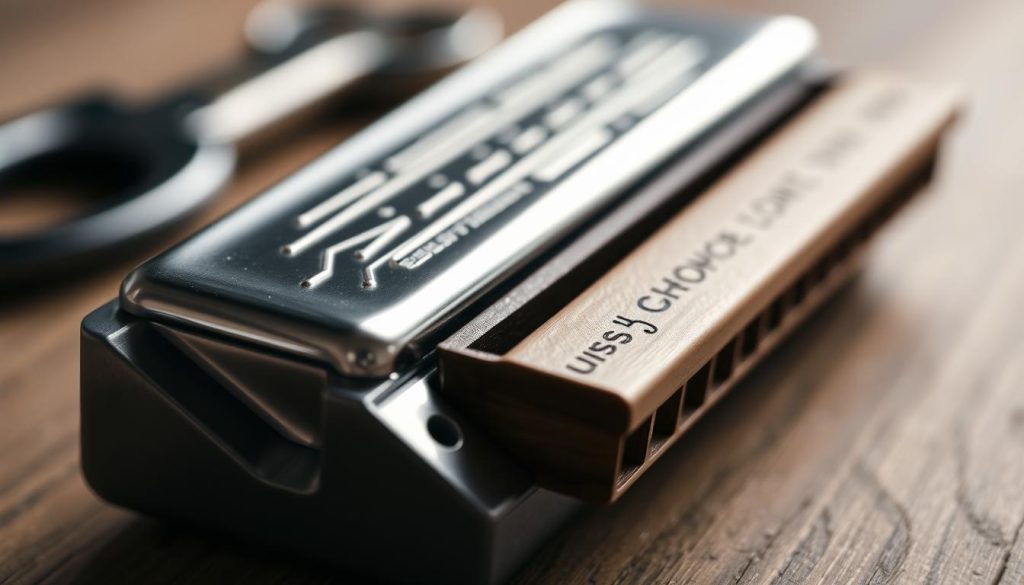
Parts and their functions
- Comb: made of wood, PVC, or metal; the central support for the air passages.
- Reed plates: made of brass; hold the reeds and define each hole.
- Reeds: vibrate to produce notes; attached by rivets or solder.
- Valves and covers: direct airflow and protect the instrument.
Essential tools
Before opening the instrument, prepare precision screwdrivers, fine needle files (half-round and square), a dull razor blade, and a reliable tuner (such as the Seiko T800).
How to use the tools: the dull blade helps lift or center a reed without cutting into the metal. The file changes the pitch by removing material near the base or tip. The tuner lets you check each note as you work.
| Comb material | Precaution | Recommended cleaning |
|---|---|---|
| Wood | Avoid excess moisture; it may swell | Dry gently; do not soak for long |
| Plastic | Stable; tolerates lukewarm water | Washable; dry thoroughly after cleaning |
| Metal | Sturdy; protect against corrosion | Clean with lukewarm water, then dry completely |
Place removed parts in a tray so you do not lose small screws and spacers. Note any markings on the plates to help you find replacement parts.
A good selection of quality tools helps you make consistent, repeatable adjustments, especially if you are starting with harmonicas from different brands.
Clean and disassemble safely
Good cleaning starts with careful preparation: a clean work area, a tray for screws, and a way to mark how the parts fit together.
Lukewarm water, dish soap, and mild alcohol: what to use and avoid
In most cases, use lukewarm water with a little dish soap. Scrub gently with a small brush or toothbrush, then rinse with lukewarm water.
Avoid hot water and harsh solvents: valves can deform easily. Use mild alcohol only to degrease the covers when needed.
Removing covers and plates, and handling the spring on a chromatic model
Hold the retaining nut if it turns, remove the cover spacers, then unscrew the plates, leaving one central screw in place to keep them from falling.
On chromatic models, remove the plates in front of the mouthpiece. Keep a finger over the slide-button spring as you take it out so it does not spring away.
Handling valves and drying without force
For plates fitted with valves, immerse them vertically and move them back and forth 50 to 60 times in lukewarm soapy water.
Rinse without using hot water. Let moisture wick into a lint-free cloth. Do not heat the instrument with a radiator or hair dryer; let it air-dry.
Store it clean and dry to extend reed life
Protect a wooden comb: avoid water. Clean it dry with baking soda and a soft brush to preserve its shape.
A tiny amount of grease on the end of the spring may reduce rattling, but oil is not recommended on the main mechanism because it can clog the valves.
Finally, once the instrument is completely dry, store it in its case at room temperature to protect it from dust, lint, and moisture that can damage the wood and reeds.
Harmonica maintenance: tuning and replacing a reed
A quick diagnosis helps you choose between adjustment and replacement.
Watch for these warning signs: an unstable note, a sluggish attack, a metallic noise, or a different response when you blow and draw. These signs mean it is time to inspect the reeds directly.
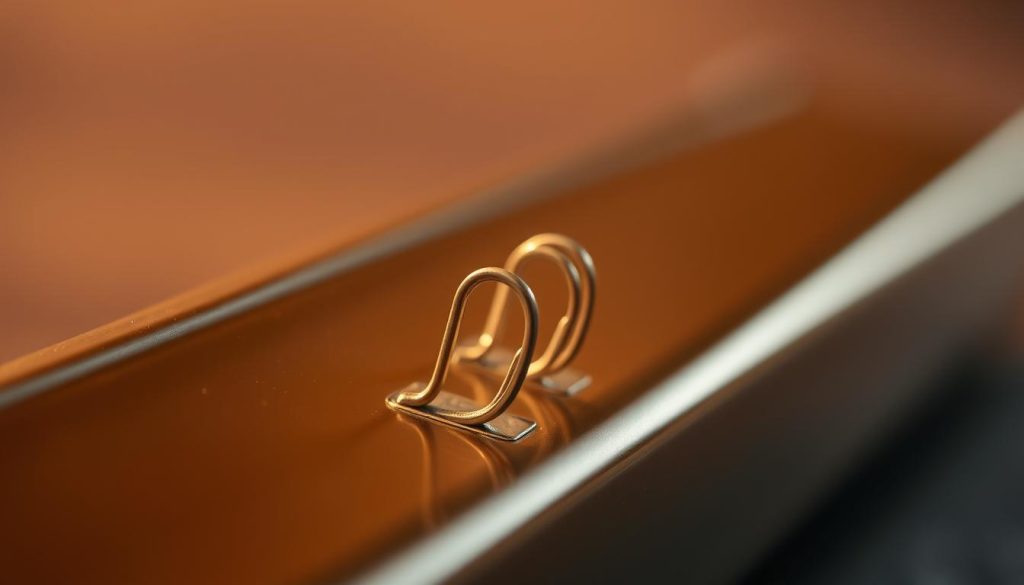
A simple procedure
Start with a light cleaning and a breath test. Use a tuner to measure the difference in pitch. If it is more than a semitone out, the rule is clear: the reed is no longer serviceable.
For small differences, file the tip or base very lightly, depending on the correction needed. Filing requires patience and continuous pitch checks.
Assess the cost, time, and skills required
If replacing the reeds costs more than the instrument is worth, it may be better to buy a new instrument. For high-end models, leave the repair to a professional.
Record which reeds are causing trouble so you can track their wear. Regular care delays failure, but heavily used reeds will eventually break.
Tune a reed step by step
Before you begin, steady the instrument in your hand and mark the affected reed very lightly. Identifying exactly where to work prevents mistakes and saves time.

Raise or lower the pitch: where to file gently
The basic rule is simple: to raise the pitch, file near the reed tip; to lower it, work near the base. Use a very fine needle file and make only light passes.
Practical tip: apply gentle pressure and remove very little material each time. Without forcing it, check the pitch by ear often.
Check alignment and clearance, then test by blowing
After each pass, play the note and check it with a reliable tuner (the Seiko T800 is recommended). Aim for the target pitch and repeat the note several times to confirm it stays stable.
Check that the reed runs parallel to the edges of its slot and moves freely. If it rubs, gently center it with a dull blade. The clearance should allow it to vibrate without touching the sides.
Common mistakes to avoid and when to call a professional
- Removing too much material at once.
- Touching the tip directly or bending the reed.
- Leaving filing debris in the slot.
“Several small corrections are better than removing a large amount of material and making the note unstable.”
If the pitch is far off or you have removed too much material, stop and consult a professional. For firsthand experiences and technical debate, see this article as well.
Replace a reed or reed plates: methods and choices
Replacing a damaged reed takes a methodical approach, suitable tools, and patience. The procedure depends on whether the reed is riveted or the entire plate is being replaced.
Replacing a riveted reed: key steps
- Secure the reed plate on a stable support.
- Drive out the rivet with a punch, then remove the old reed.
- Position the replacement reed and file it so it can vibrate freely.
- Fasten it with a new rivet or solder, depending on the model.
Replacement reed plates or a new instrument
Cost and compatibility: a reed plate can cost almost as much as a new instrument. Parts vary by brand; check compatibility before buying.
Reassembly and final checks
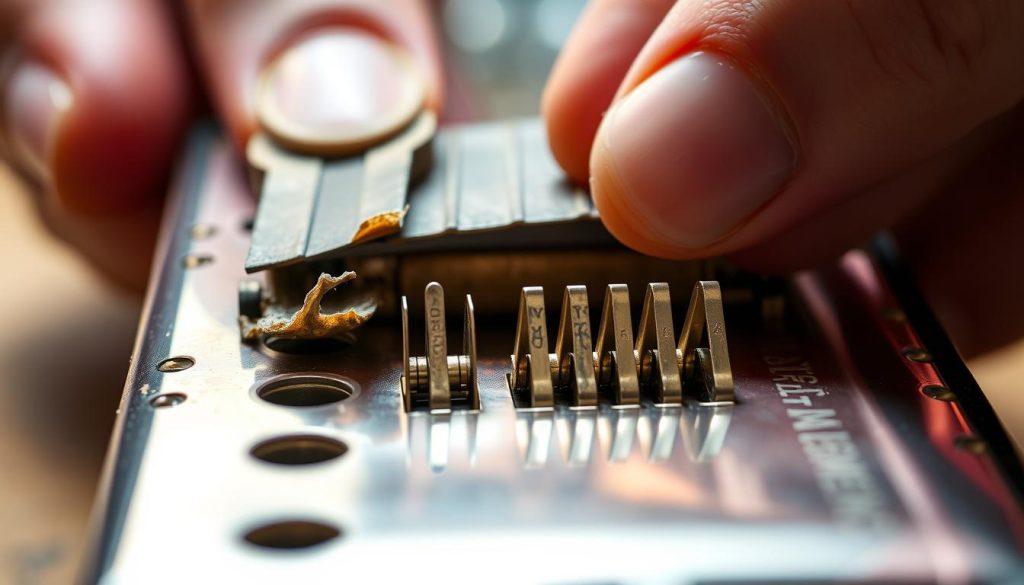
Start all the screws, beginning with a central one, then tighten from the center toward the edges to ensure an airtight fit. Test every hole by blowing and drawing, and listen for any rubbing.
Your first repair takes time: recording the problems you encounter helps you improve.
If you are unsure, leave the repair to a professional: this prevents damage to the reeds or plates and saves time.
Conclusion
Quick, regular checks often help extend the instrument’s life. Warm it in your hand, play with light pressure, and avoid blowing or drawing too hard to protect the reeds.
Clean moderately with lukewarm water, dry the comb thoroughly if it is made of wood, and store the instrument dry at room temperature. Check the pitch after each repair to decide whether adjustment or replacement is needed.
When reassembling, tighten from the center toward the edges, then test every hole. Record when you worked on the instrument, which part you treated, and the result to improve your routine. If the repair is beyond your skills, consult a professional. A small, regular habit can save time and prevent repairs.